Following the Part III, in this blog post, we’ll go over the security checklist that can be used as a reference to enhance the security posture of your site as well as conclude our series in Part I, Part II, Part III or Attack Vectors.
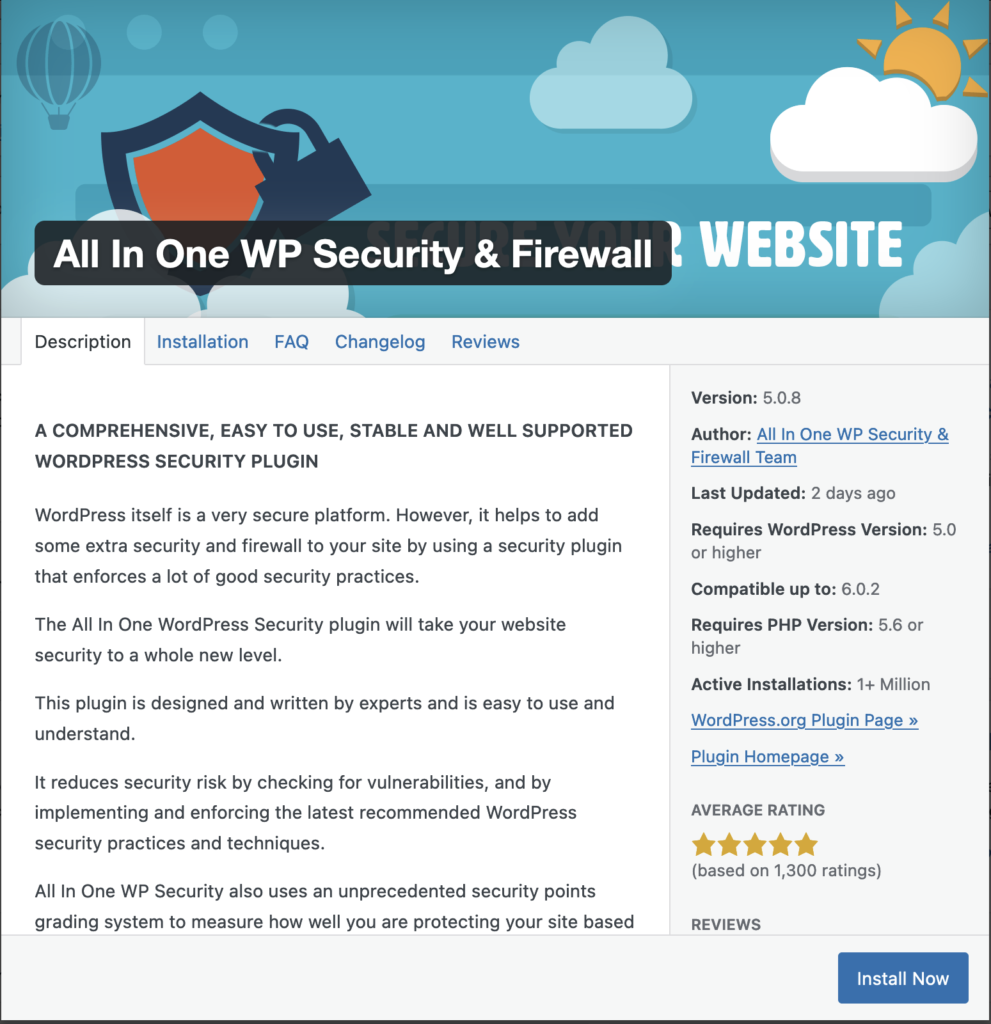
Note: The plugin used in this post is All in One WP Security & Firewall by Peter Petreski, Ruhul and Ivy.

Initial Tests and Backups
- Not included in the Plugin
- Disable PHP error reporting
2. Scanner Menu
- On the File Change Detection tab, Perform Scan Now to check if any files are different from the default installation files. You may find the “.htaccess” file has changed, but that’s usually fine.
- Check the option to Enable Automated File Change Detection Scan
3. Settings Menu
- Backup your Database
- Backup your .htaccess file
- Backup your wp-config.php
- Click on the WP version Info tab over the top and check the Remove WP Generator Meta box.
Setting Up Security
- User Accounts Menu
- On the WP Username tab, ensure you are not using admin as the username.
- On the Display Name tab, ensure your login name and display name are different.
2. User Login Menu
- On the Login Lockdown tab, enable Login Lockdown
- On the Force Logout tab, enable Force WP User Logout
3. User Registration Menu
- On the Manual Approval tab, enable Manual approval of new registrations.
- On the Registration Captcha tab, enable Captcha on Registration Page
4. Database security
- On trhe DB Prefix tab, make sure you’re not using the default wp_ as your table prefix
- On the DB Backup tab, enable automated backups
5. Filesystem Security
- On the File Permission tab, if there are any Recommended Actions, it’s advisable to do them all
- On the PHP File Editing tab, Disabled the ability to edit PHP Files.
- On the WP File Access tab, Prevent Access to WP Default Install Files.
- On the Basic Firewall Rules tab, Enable Basic Firewall Protection
- If you are not using XMLRPC, disable it completely. Be cautious that some plugins will use it.
- Enable Block Access to debug.log file
- On the Additional Firewall Rules tab, enable Disable Index Views
- Enable the Disable Trace and Track
- Enable Forbid Proxy Comment Posting
- Enable Deny Bad Query Strings
- Enable the Enable Advanced Character String Filter
- On the 6G Blacklist Firewall Rules tab, check the Enable 6G Firewall Protection option
- On the Internet Bots tab, enable the option to Block Fake Googlebots
- On the Prevent Hotlinks tab, enable the option to prevent Image Hotlinking
- On the 404 Detection tab, check the options to Enable 404 IP Detection and Lockout
6. Brute Force
- On the Cooke Based Brute Force Prevention, perform the cookie test to make sure your site can use this method of protection. If it can, enter a Secret Word and the Enable Brute Force Attack Prevention on this tab. Otherwise, go to the Rename Login Page tab and use that instead.
- On the Login Captcha tab, enable any of the captchas that you want to use
- On the Honeypot tab, check the option to Enable Honeypot on the Login Page
7. SPAM Prevention
- On the Comment Spam tab, check the option to Enable Captcha On the Comment Forms.
- Check the option to Block Spambots from posting comments.
- On the Comment SPAM IP Monitoring tab, check the option to Enable Auto Block of SPAM Comment IPs. I recommend you enter a low number into the Minimum number if SPAM comments such as 1.
8. Others
- On the Copy Protection tab, check the option to Enable Copy Protection.
- On the Frames tab, check the option to Enable iFrame Protection.
- On the Users Enumeration tab, check the option to Disable Users Enumeration.
Our Part I, Part II, Part III, Attack Vectors
